Incense cones are made from herbal powder mixed with natural Makko powder. Burning these incense cones not only creates a beautiful effect but also brings many benefits, both physically and mentally. Nowadays, you can easily buy these cones at local stores or e-commerce sites.
However, if you have a variety of aromatic plants in your garden or simply want to experiment with your own incense cone recipe, you can make your own incense at home.
Besides, this is the only way to ensure that the incense you are burning does not include harmful chemicals.
Affiliate link disclosures
1. Supplies
- For the main ingredients to make incense, choose your favorite herbs such as white sage, lavender, and patchouli.
- A grinder, you can use a mortar and pestle if the ingredients are not too hard.
- Makko powder
- The mold for the incense cone
- A cup of water or a few drops of your favorite essential oil
2. Instructions Step By Step
Step 1: Choose ingredients
The first thing you need to do is to find the ingredients to make your own incense cones at home. You can experiment with any herbs you have. Usually, people will choose plants that contain a lot of essential oils such as lavender, sage, orange, lemon, chamomile, and rosemary.
At the end of this article, we will introduce you to some of the most popular and simple incense cone recipes recently.
Once you have selected the ingredients, make sure to clean, chop and let them dry.
Step 2: Grind the ingredients
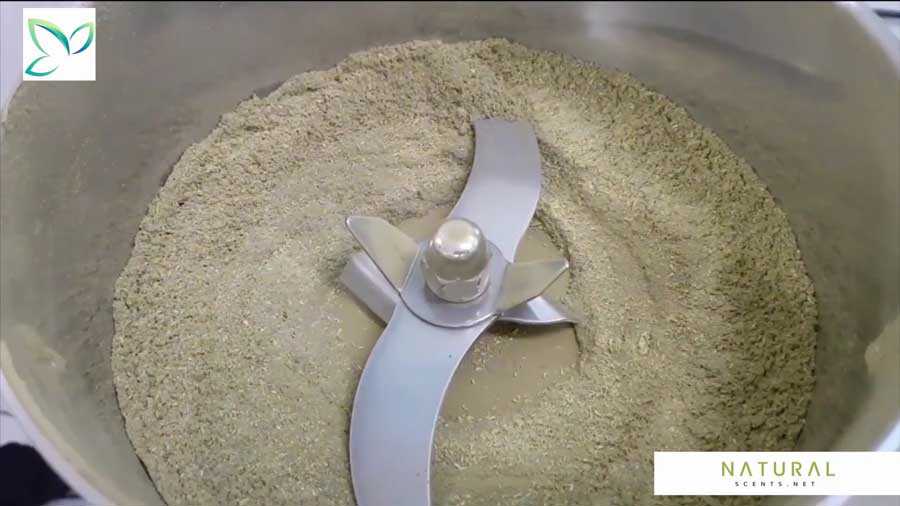
When the ingredients are completely dried, use a mill to grind these ingredients into fine powder.
If you don't have a mill or a grinder, you can use a coffee grinder or a mortar and pestle.
This process will take you the most time and effort. So be patient and grind the ingredients as small as possible.
Step 3: Sift the powder and mix the ingredients
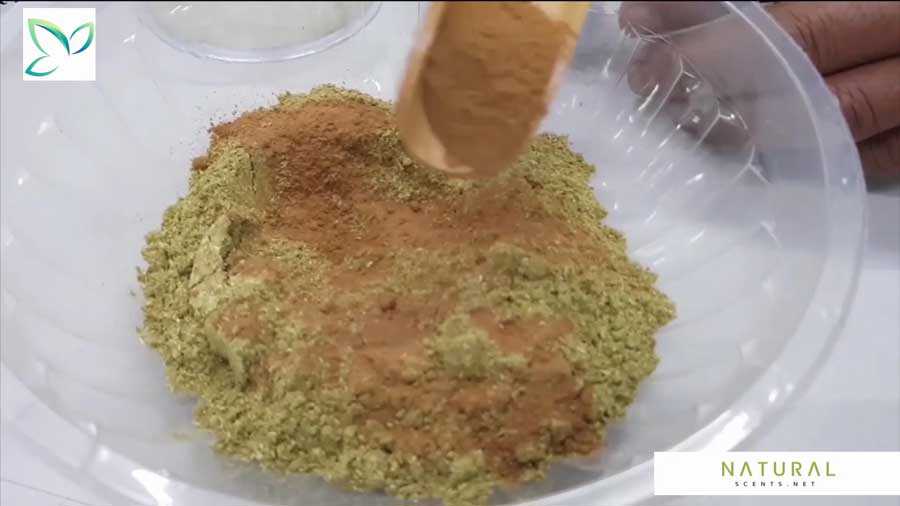
The third step to making your own incense cone is to mix the ingredients. Keep the ingredients dry, pour them into a large bowl, and stir for 2 to 3 minutes.
You can use a sieve to remove the unground ingredients. By doing this, it will bring you several benefits:
- Make it easier to mix ingredients.
- The incense cone will be beautifully created.
- Help incense cones burn more evenly.
- Create a more harmonious aroma without a burning smell due to unburnt ingredients.
Step 4: Add Makko powder
When the ingredients have been mixed together, add the Makko powder to the mixture.
The Makko powder is ground from the thunbergia tree, which binds and shapes your incense cones.
Usually, Makko powder will only take up 5% to 10% of the incense cone. This is the right amount of powder to create the stickiness without creating a burning smell. Use a scale to get the most accurate proportions.
After adding the Makko powder, mix well for about 2 to 3 minutes.
Step 5: Add water and knead the dough
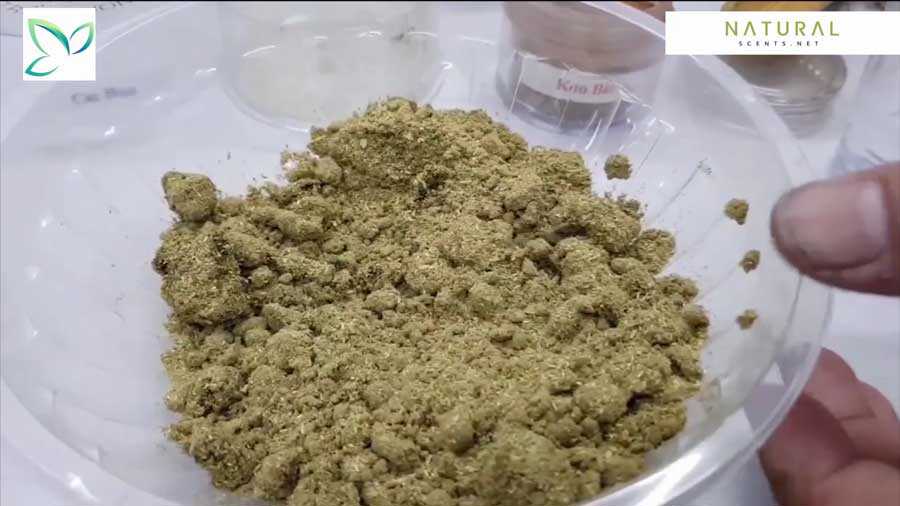
Add water to the mixture of powder and knead by hand until it becomes smooth and you can shape them with your hands.
A small tip is to add water little by little to avoid the mixture becoming mushy due to excess water.
Step 6: Add essential oils if needed
In this step, you can add a few drops of essential oils to enhance the fragrance of your incense cones. After adding the essential oils, knead them again evenly for 1 to 2 minutes.
Step 7: Shape the incense cone
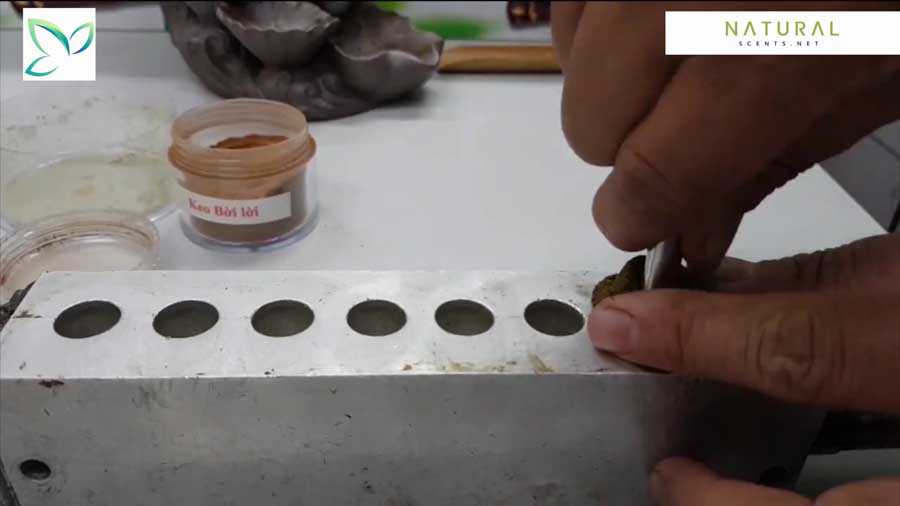
Divide the mixture of incense powder into small pieces and place them in the molds that you prepare. You can use a chopstick or a small spoon to knead the dough into the mold. This will help create a beautiful shape.
You can also find small cone-shaped items around the house to make molds for incense cones.
If you don't have a mold, you can mold the cones by hand. We recommend that you divide the dough evenly before molding so that the incense cones have the same size. An incense bud usually needs about ¾ to 1 teaspoon of incense powder.
Step 8: Create a smoke outlet
If you just want to make a regular incense cone, you can pass this step.
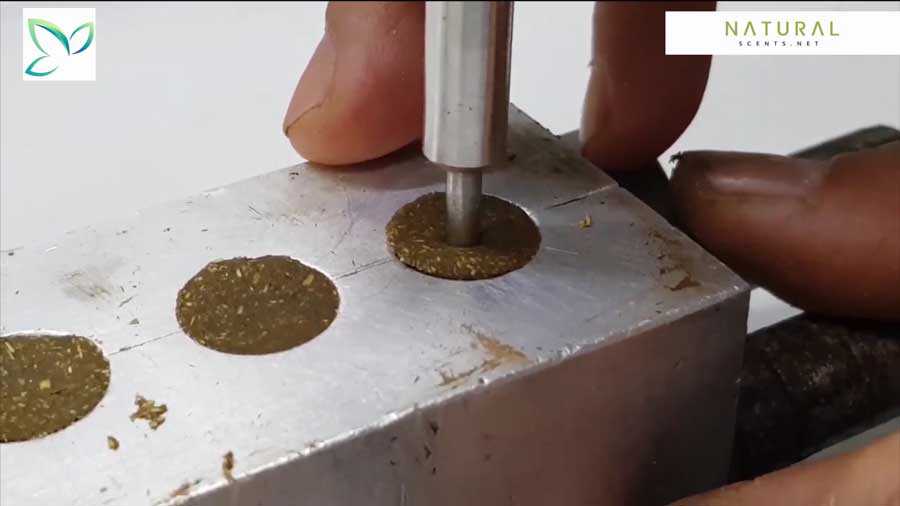
If you want to turn an ordinary incense cone into one for a waterfall incense burner, you can use a small iron rod and punch a small hole under the incense cone. This hole will be about 2/3 the height of the incense cone. You should pay attention not to punch holes in the top of the incense cone.
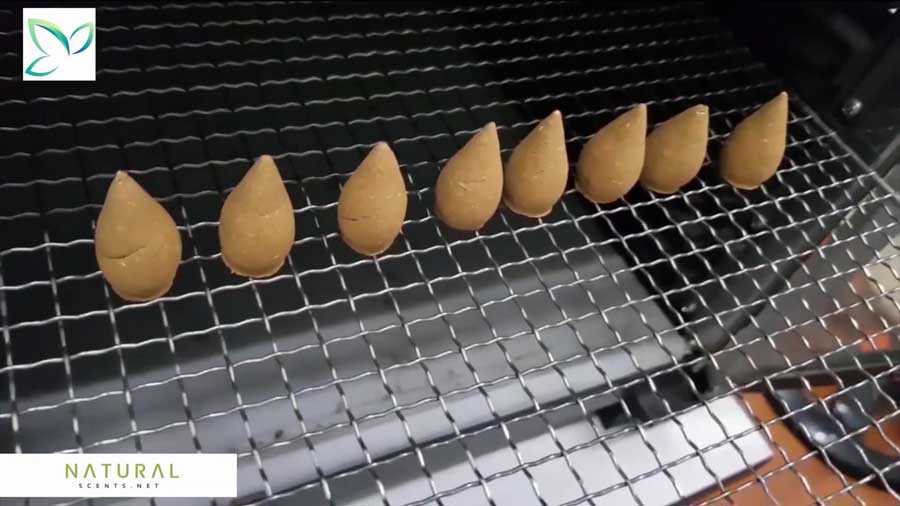
After punching holes, you can open the mold and take out the incense cone. Place them on a tray and make them dry.
Step 9: Dry the incense cone
To dry the incense cones, leave them in the sun for about a day.
If it’s not sunny, you can dry them for 2 to 3 days to make sure the incense cones are completely dry.
Step 10: Preserve and use incense cones
When the incense cones are completely dried, you can store them in a plastic or glass container to avoid moisture absorption in the air. You should also leave them in a place with moderate temperature and no sunlight to avoid essential oils and resin spilling on the surface of the incense cone.
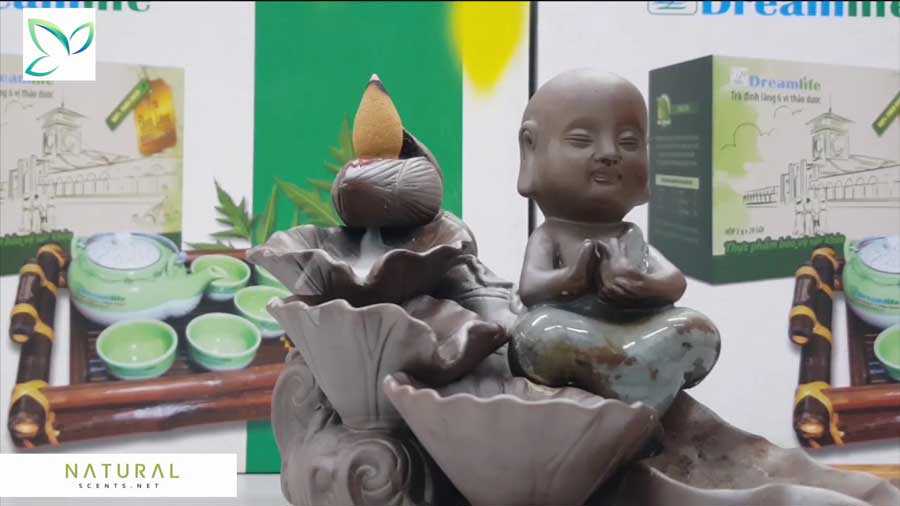
To properly burn incense cones, you can use a backflow incense burner. Check out our article about how to use a backflow incense burner for more detailed instructions.
Read our review of the top 10 best waterfall incense burners to choose the most suitable one for you.
If there is no waterfall incense burner, you can pour salt or sand into a porcelain bowl, place the incense bud on top, light the incense cone, and enjoy its fragrance.
3. Some problems that may occur while making incense cones at home
3.1. Unable to grind ingredients into fine powder
There are 2 reasons why you can not grind ingredients into fine powder:
The ingredients have not been completely dried.
The ingredients are hard to grind due to their characteristics.
That’s why you should choose ingredients that are easy to grind into fine powder such as sage, pineapple, lavender, cinnamon, and orange peel.
The trick for you is to grind the ingredients right after drying when you can feel the crispiness.
You need a specialized grinder or coffee grinder to grind wood ingredients like palo santo, cedar-red, and sandalwood.
You should refrigerate ingredients in the form of resin such as Amber Resin, Copal, and Dragon's Blood Resin for about 15 minutes. This will keep ingredients from sticking to the blender jar or blade.
3.2. The ingredients don't stick together
In the process of kneading the dough to make incense cones, if the ingredients do not stick together, you need to knead them thoroughly. If the dough feels too dry, add water to the mixture.
3.3. Incense cones are broken when shaping
During shaping, if your incense cone breaks, that means there is a lack of binder. In this case, add Makko powder and knead the dough thoroughly.
3.4. The incense cone is extinguished when burning
The reason why the incense cone is extinguished when burning is that it’s not completely dry or has been dehumidified during storage.
Make sure to dry your incense cones completely and store them in an airtight container.
4. Some popular incense cone recipes
4.1. Make incense cones from Agarwood
One of the most simple and famous recipes for making incense cones is using agarwood.
You just need to mix 95% agarwood powder with 5% Makko powder and you will have a wonderful incense bud recipe. This is a recipe that works for most people and for any space.
However, a disadvantage of this recipe is that agarwood is very expensive. You can also replace high-quality agarwood with cheap one or partial sandalwood.
4.2. Chrysanthemum incense
You can also experiment with making chrysanthemum incense cones at home. Incense cones made from flowers will have a light and pleasant fragrance. Besides, this type of incense cone is also very effective in repelling insects.
To make chrysanthemum incense, you can mix 90% chrysanthemum powder with 10% Makko powder. You can use the stem, leaves, and flowers of chrysanthemum to grind into powder, so the price of this incense cone is very cheap. And it’s also easy to find.
4.3. Make lavender incense cones
If you love a more intense and seductive scent, lavender incense buds will probably meet your requirements.
To make your own incense buds at home with lavender flowers, prepare the ingredients according to the following recipe:
- 3/4 teaspoon of lavender powder
- 3/4 teaspoon of rosemary powder
- 1 teaspoon of lemongrass powder
- 1 teaspoon of Makko powder
- ½ teaspoon of marjoram
4.4. Make incense cones from cinnamon
If you love Indian-style scents, the following cinnamon incense bud recipe will be suitable for you.
- 3 spoons of cinnamon
- 2 spoons of sandalwood
- 1 spoon of cloves
- 1 spoon of jasmine oil
- 1 spoon of honey
4.5. Make incense cones from orange peels, grapefruit peels
You can also make use of orange peels, lemon peels, and grapefruit peels to create your own incense bud recipe. Buds made from orange peel offer a very pleasant aroma. Besides, it also has the effect of repelling insects and it is good for health.
You can make incense buds from orange peel, and grapefruit peel according to the following recipe:
- 3 teaspoons of orange or grapefruit peel powder
- ½ tsp of orange root if available
- ½ tsp of Makko powder
Conclusion
It’s simple and easy to make incense buds by yourself and you can definitely make them at home. This is also an enjoyable activity to do on your holiday or weekend. You can use the 5 recipes that we provide in this article or any other recipes that you like.
Don’t forget to share with us your unique incense cone recipe!


